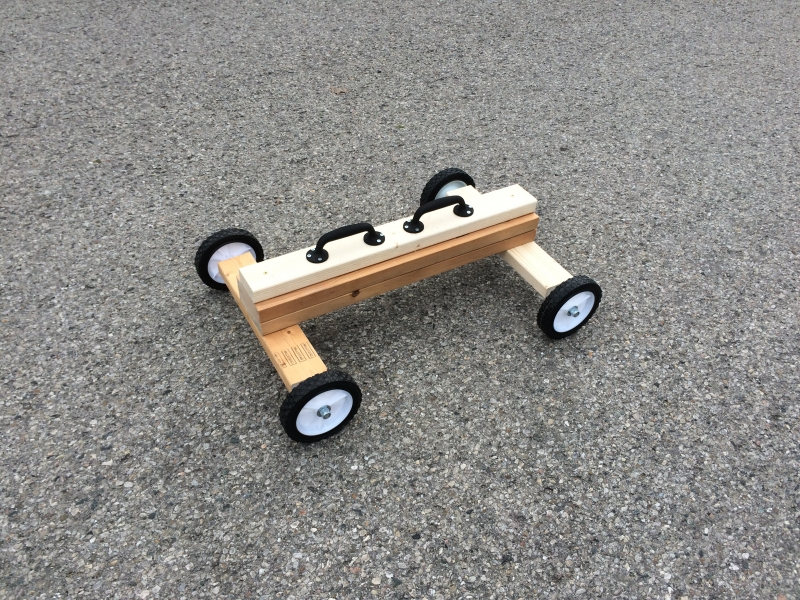
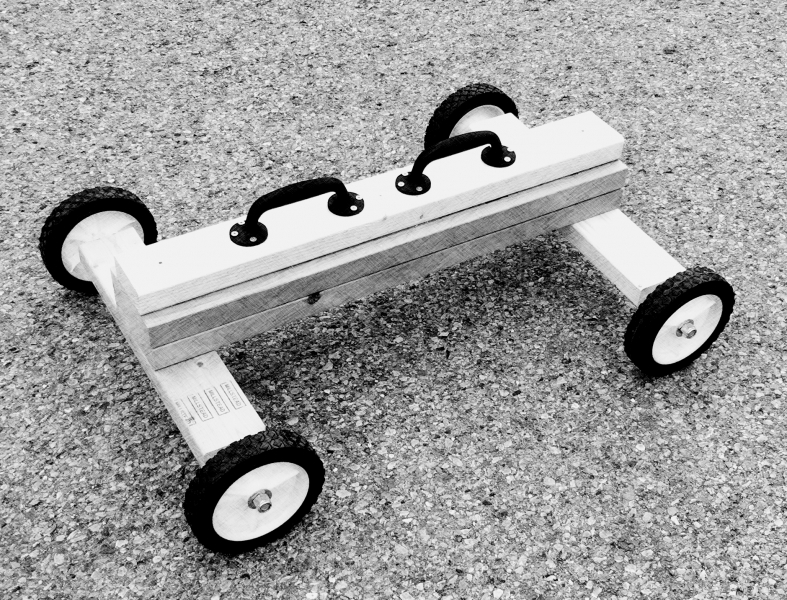
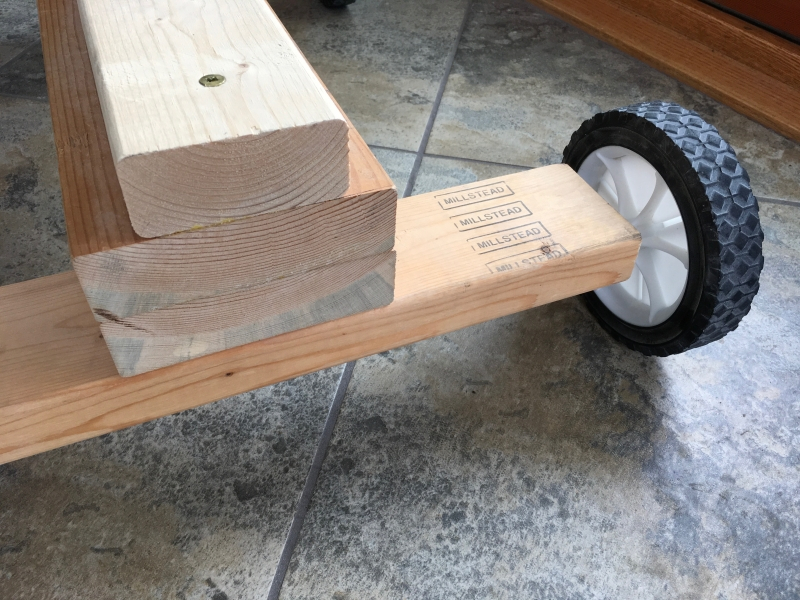
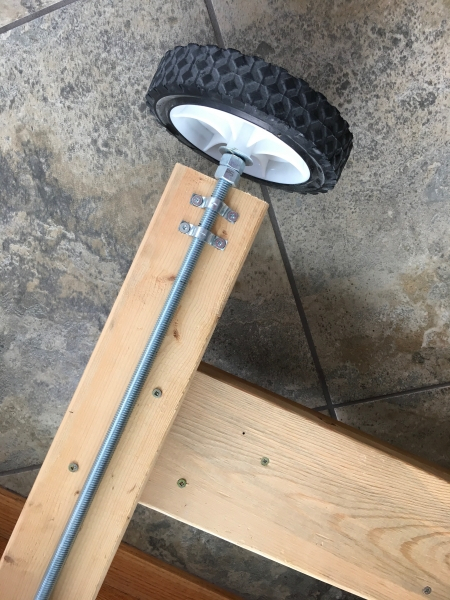
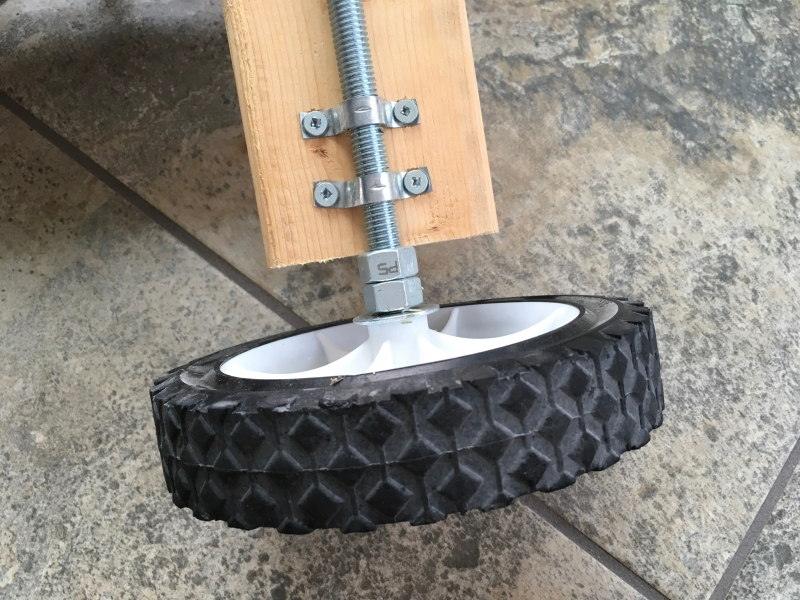
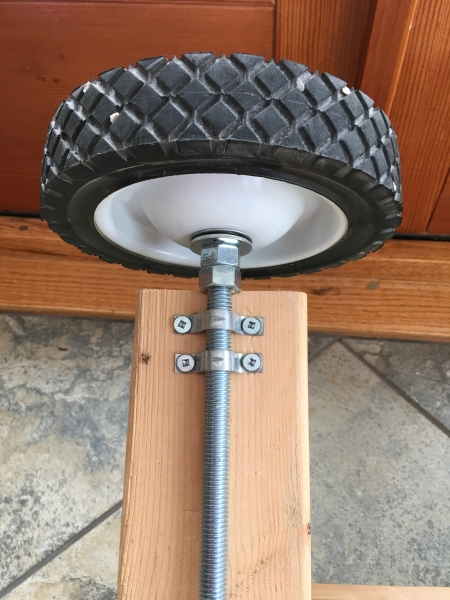
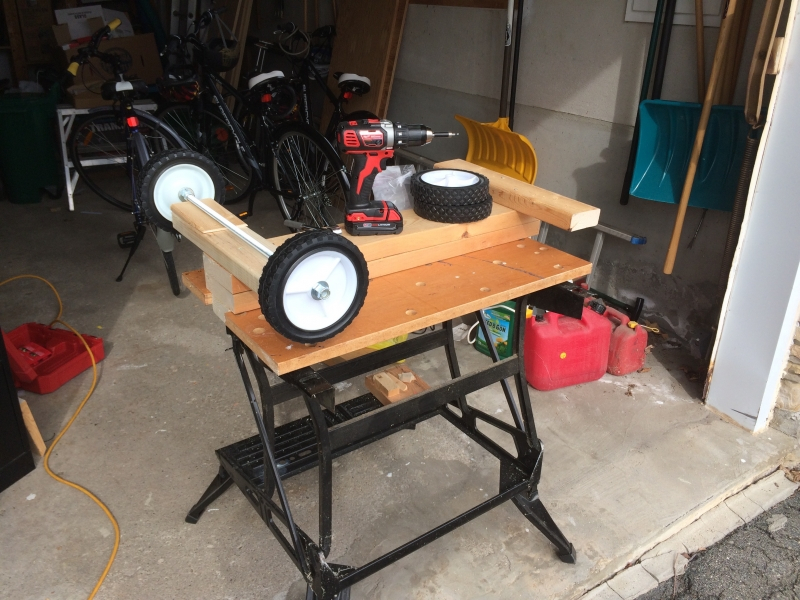
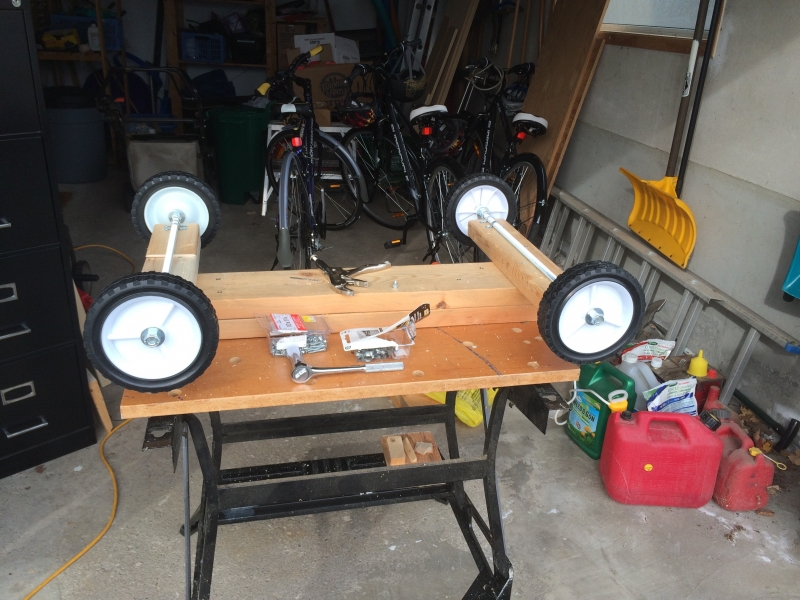
Since publishing the first article about the footwork trainer in June 2016, a number of people have asked for more detailed specifications and additional photographs so that they can construct their own.
The trainer itself is simple to construct. The parts list is as follows:
two 30-inch wood pieces of 2×6 glued and screwed together using 3-inch brass wood screws;
one 30-inch piece of 2×4 attached to the top, again using 3-inch brass screws;
two 18-inch 2×4 pieces for the trainer’s wheelbase. Note that the length of these pieces depends on the thickness of the wheel hubs of the wheels you’ll be using. You might find a length of 16.5 inches works better with metal hub wheels that are 1.75 inches wide.
two 24-inch long, 1/2 inch threaded rods that serve as the axles, along with appropriate 1/2 inch nuts, washers, lock-washers, and locknuts;
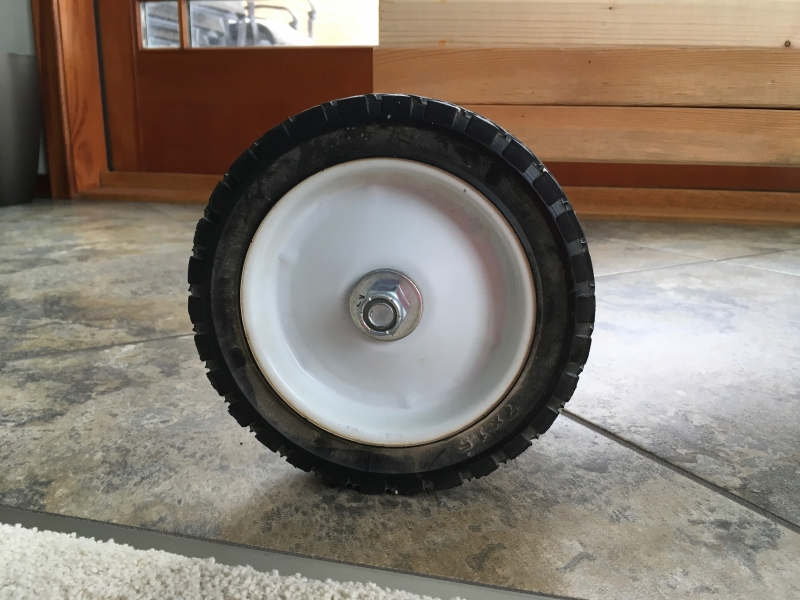
four standard 7-inch lawnmower wheels, purchased from Home Hardware. 8-inch wheels will also work – they’ll raise the overall height of the unit by 1/2 inch. I desired wheels that had a stainless steel hub with stainless steel ball bearings for durability, rather than wheels with plastic bushings, but unfortunately my local store had only one steel wheel in stock. The different wheels are identical in size and are interchangeable; each type uses a 1/2 inch axle. 8-inch wheels roll better but are 1.75 inches wide, rather than 1.5 inches for 7-inch wheels. If using 8-inch wheels you’ll have to shorten the 2×4 pieces to around 16.5 inches to leave enough room for the nuts, lock-washers, and locking nuts to attach the thicker wheels.
eight 1/2-inch steel pipe strapping fixtures for attaching the threaded rods to the 2×4 axles;
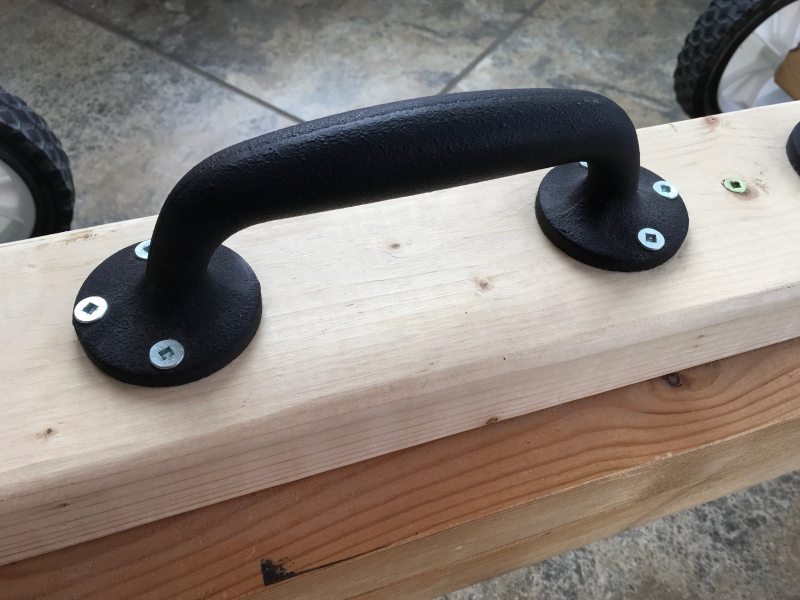
I used #10 brass screws for the most part (2-inch and 3-inch) and shorter #10 zinc screws to attach the rods to the 2×4 frame. Pre-drilling the holes helps to avoid splitting the wood. Finally, #10 screws are too thick for the Lee Valley handles; you’ll want to use zinc 1.75-inch #6 screws instead.
Total cost, all in, is about $120, the most significant items being the 7-inch lawnmower wheels from my local Canadian Tire store, and the 7.5-inch cast-iron handles from Lee Valley that list for $23.50 each plus HST.
Once built, the trainer as described has a height of 9 3/4 inches from floor to the top of the 2×4 on top, and exactly 12 inches as measured from the floor to the top of the handles. This total height should be considered carefully. Ordinarily, for many athletes a 12-inch height for the lower hand while brushing would be considered too high, and 12 inches is higher than a typical stone handle (note that there is no hard specification for the height of a curling stone). If desired a lower overall height can be easily achieved by omitting the 2×4 piece at the top of the unit.
For your convenience, a one-page summary of the design is available as a PDF ready for printing.